 |
| Depth-of-field: The birds are outside, in, and inside the depth of field. This picture was shot at 1/2500s. f/5.6, 135mm, ISO 600. |
By controlling the depth of field you can separate the object you want viewers to focus on by deliberately blurring other objects. You do this by putting them inside or outside your depth of field.
The depth of field depends on several factors:
- The aperture (f-number) you are shooting at. Small f-numbers mean you get a shallow depth of field. Large f-numbers mean a wider depth of field.
- The focal length of your lens. The longer your lens, the more narrow the depth of field will get at short distances. Thus, a 35mm lens will give you a wider depth of field than a 200 mm lens, if everything else is equal.
- The size of the image sensor in your camera. The larger the sensor, the narrower the depth of field for a given aperture. I shoot with a Canon 60D. The 60D has an APS-C sensor. If I used a Canon 5D Mk III, which has a larger sensor, I would get a narrower depth of field at the same aperture.
 |
| I shot this portrait standing quite close. Camera settings were 1/400s, f8, 75 mm, ISO 200. Shooting close up at f8 allowed me to blur the background while keeping my subject in focus. |
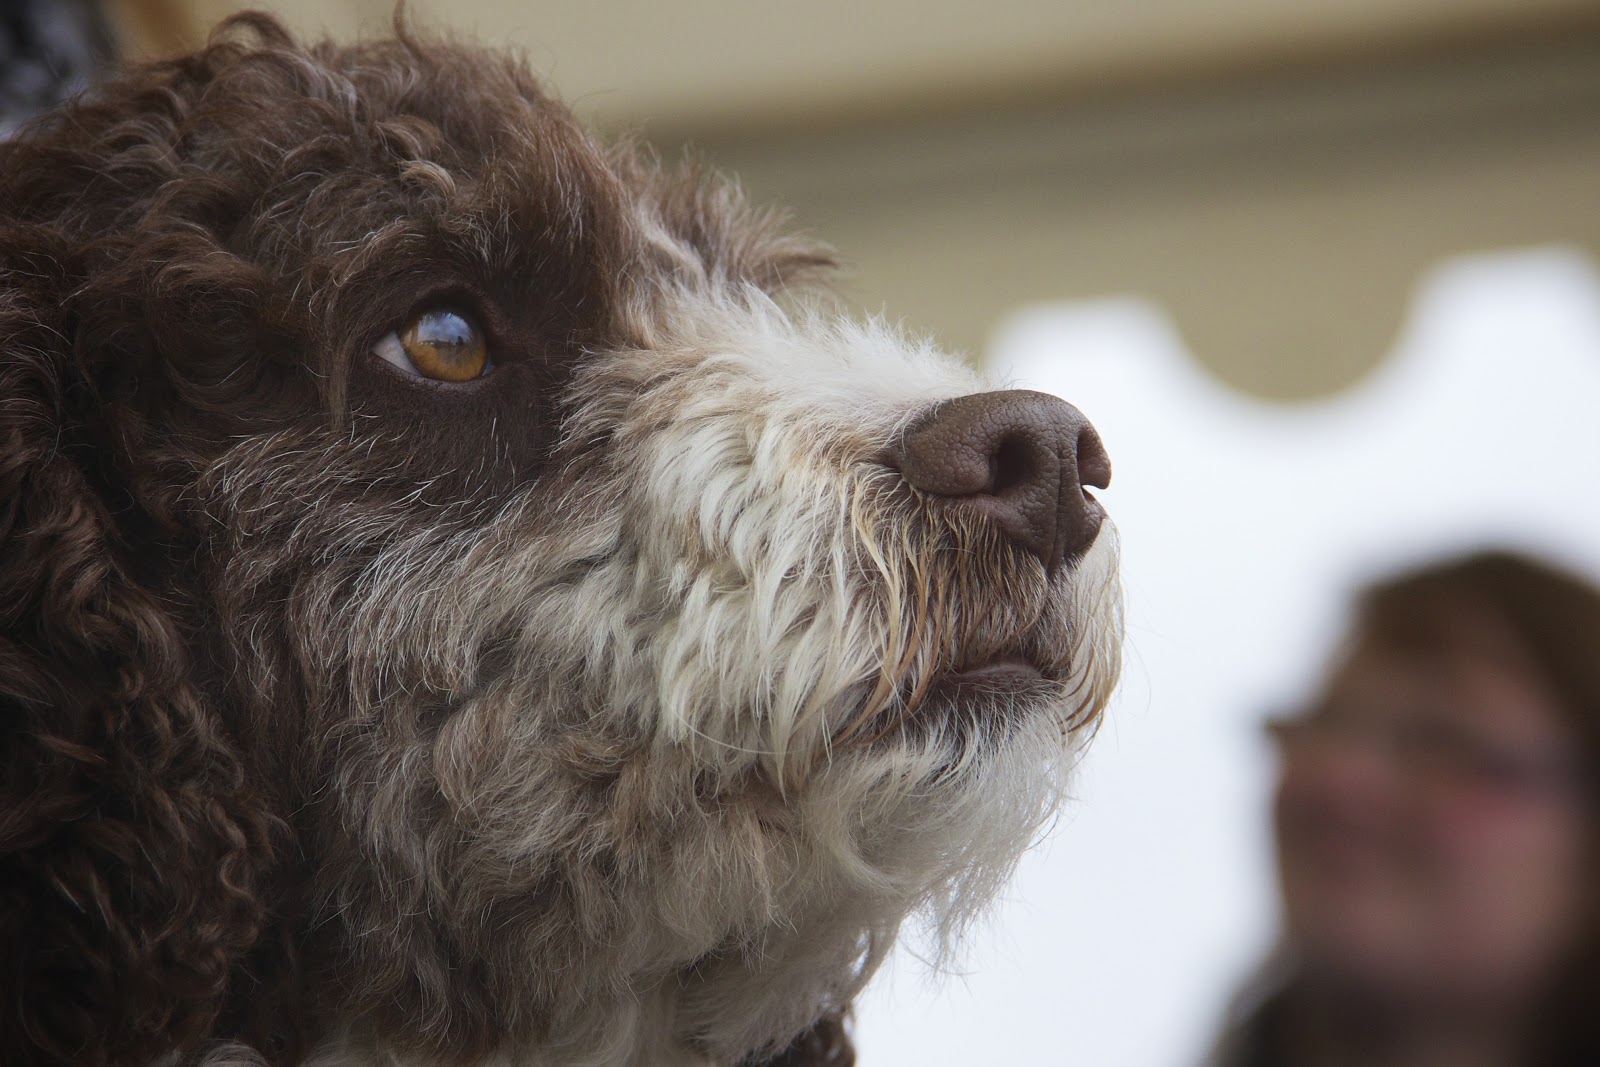
Depth of field can bite you. Most dogs have snouts that make give their faces a lot of depth. The following dog portrait was shot at f7.1.

As you can see, the eyes are sharp, but the nose is blurred. There are five simple ways I could have gotten the whole face into focus:
- I could have changed the aperture. If I had shot at f11, I probably would have gotten the entire face in focus.
- I could have changed the focal length of the lens. I was using a zoom lens at 135 mm. If I had shot at 85 mm, I would have gotten a better shot.
- I could have backed off a bit, increasing the distance between me and the dog.
- I could have shot the head in profile instead of straight on.
- I could shoot a dog with a shorter snout. (But less wonderful eyes.)
Here is an example of a dog shot with the same aperture, 7.1, but at a slightly greater distance, and with the head turned a bit:
Dog sharp, dog owner out of focus, just as intended.
Photographers sometimes talk a bit scornfully about "people who shoot everything at f11". The reason why people do shoot at f11, is that it, in many cases, is a good compromise: Good depth of field, and also enough light to allow decent shutter times.

The racing track above is shot at f11. Because there is some distance to the foreground fence, and because of the aperture, the entire racing track is in focus.
To shoot individual cars, you need fast shutter times, and you can get that by sacrificing a bit of depth of field.

The car was shot at 1/1000s. To do that, I had to go to f6.3. Good enough for the car, but you can see that the sign in the background is slightly blurred.
If you are doing macro photography, you will have extremely shallow depths of field. This can be a problem. For example, if you are shooting insects, part of the insect may be unintentionally blurry.
I usually want the largest depth of field I can get when doing macro shots. That means I want to shoot around f22. However, that give me very long exposure times. This is a pain, because even very small air movements can turn small details into blurry messes.
Fortunately, you can get sharp macro shots if you use a flash.
 |
| Potted plant shot at f22. For macro photography, I want a wide depth of field. The shutter time is 1/160, but that does not matter much, because I used a flash to freeze movement. Even very small vibrations will cause problems when you are photographing small things. Using a flash will fix the problem, and give you nice, dramatic shadows. |
One thing though: You can't use a flash on the camera. You need to get it off the camera, and put it very close to the object you are photographing.
For this kind of photography, you need to work in manual mode, and experiment with aperture and shutter time, until you find combinations that work.
Finally: the only thing that will make you better at using depth of field in creative ways, is practice. Use a guide like this one to get a general idea of how to do what you want, then practice until you manage to do it. I study the metadata of the photos I take, to correlate what I see in the picture with the camera settings I used. You can see the metadata if you have programs like Aperture, Lightroom, The Gimp, or similar.
No comments:
Post a Comment